Here you can find all information about how to update your existing maps, or purchase additional ones using our NPlus updater tool for your In-Dash Radio powered by our NDrive 11 navigation software.
Instructions for Windows and Mac platforms:
NPlus Compatibility and Requirements
Computer:
- Windows: Windows 10 (64-bit) or greater
- macOS: OSX v10.4 or greater
In-Dash Radio:
- Radio must come with NDrive 11 preinstalled. When tapping the Navigation (Navi) button on your radio you'll see an NDrive splashscreen. This means NDrive is installed.
- If the radio uses Android OS and has NDrive 11 preinstalled, use the Store option to update/ buy additional maps (located on Menu - Store) instead. NPlus isn't compatible with Android devices and these versions use their own in-app store.
NPlus Download and Installation
- Download NPlus to your computer using one of these links:
NPlus for Windows: NPlus for Windows - 64 bit
NPlus for Mac up to 10.13: NPlus for Mac - Download
NPlus for Mac 10.14 and up: NPlus for Mac 10.14 and up
- Windows Version: Open the compressed zip file you just downloaded from the link above and then double-click on the NPlus installer file (NPlus.msi) to begin the installation wizard. Choose "Next" until the installation is finished.
|
|
- Mac Version: Open the compressed zip file you just downloaded from the link above and it should be extracted automatically. After that, you will find the file named "NPlus.app". Double-click on it to start NPlus.
Create an NPlus Account
-
After downloading and installing NPlus on your computer for the first time, you will need to create an NPlus user account. To do so, use the "create account" link on the NPlus login screen.
- Fill all the required fields and tap the "Sign up" button to finish the account creation.
- You will receive an email confirming the account creation, however, no activation steps are necessary. You can now log in to NPlus.
Note: Since the email is sent automatically, it may not be shown in the Inbox folder of your email client. Always check your "Spam" or "Unsolicited email" folders.
If needed, please add the email address support@ndrive.com to your Contacts list.
Connecting to NPlus
- Before connecting to NPlus, plug the memory card that came with your radio on the computer. You can do this by using one of the following options:
If your radio is using a Micro-SD card: A Micro-SD card to SD-Card adapter (if your computer or laptop has an SD-Card slot available).
If your radio uses a regular SD-Card instead, there's no need to use an adapter and just plug it into the SD-Card slot directly.
If your computer doesn't have a memory card slot, you can use a USB memory card reader. Most card readers support both Micro-SD and regular SD-Cards.
Wait until the memory card/USB reader is detected by the computer/laptop and then start NPlus.
Using NPlus to Buy/Update Products
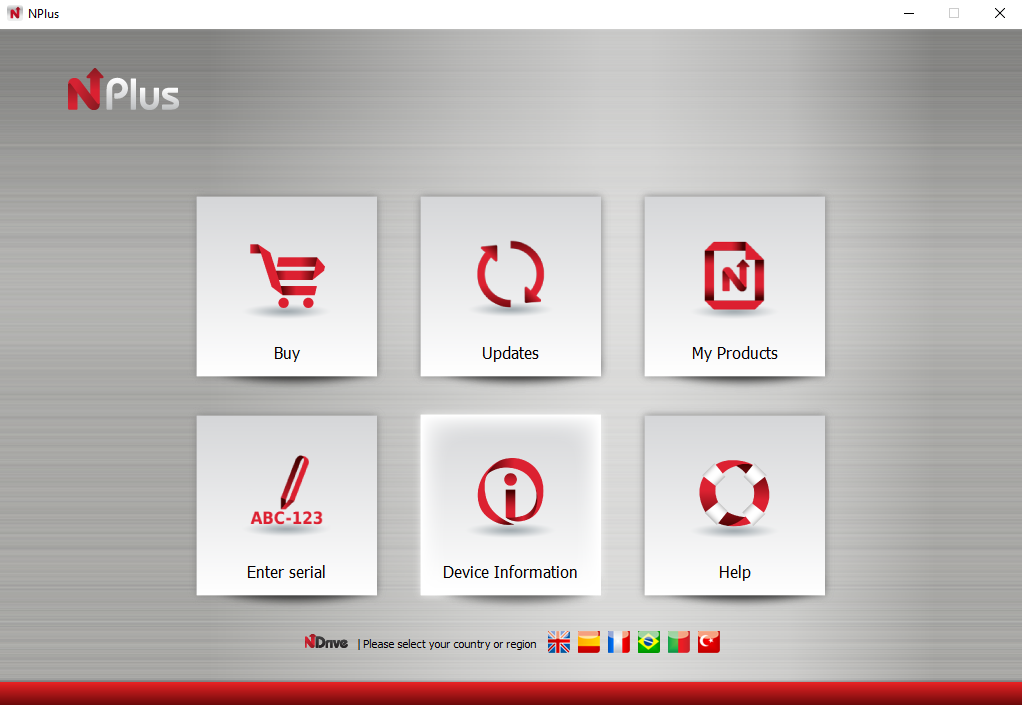
- Every time you start NPlus, you will need to login, so remember your password for future use (the password will always be required). After logging in, you will be shown the main NPlus screen from where you are able to make purchases/select updates and install them onto your memory card.
- Select Buy to be taken to a different screen where you will be able to purchase additional maps, additional language voices, and TTS voices (Text To Speech). You can select and purchase items here, which can then be downloaded and installed via the My Products section.
- Select Updates to have NPlus check your device for any available map updates. If updates for your device are available, then a list of updates will be shown.
Comments
0 comments
Article is closed for comments.